
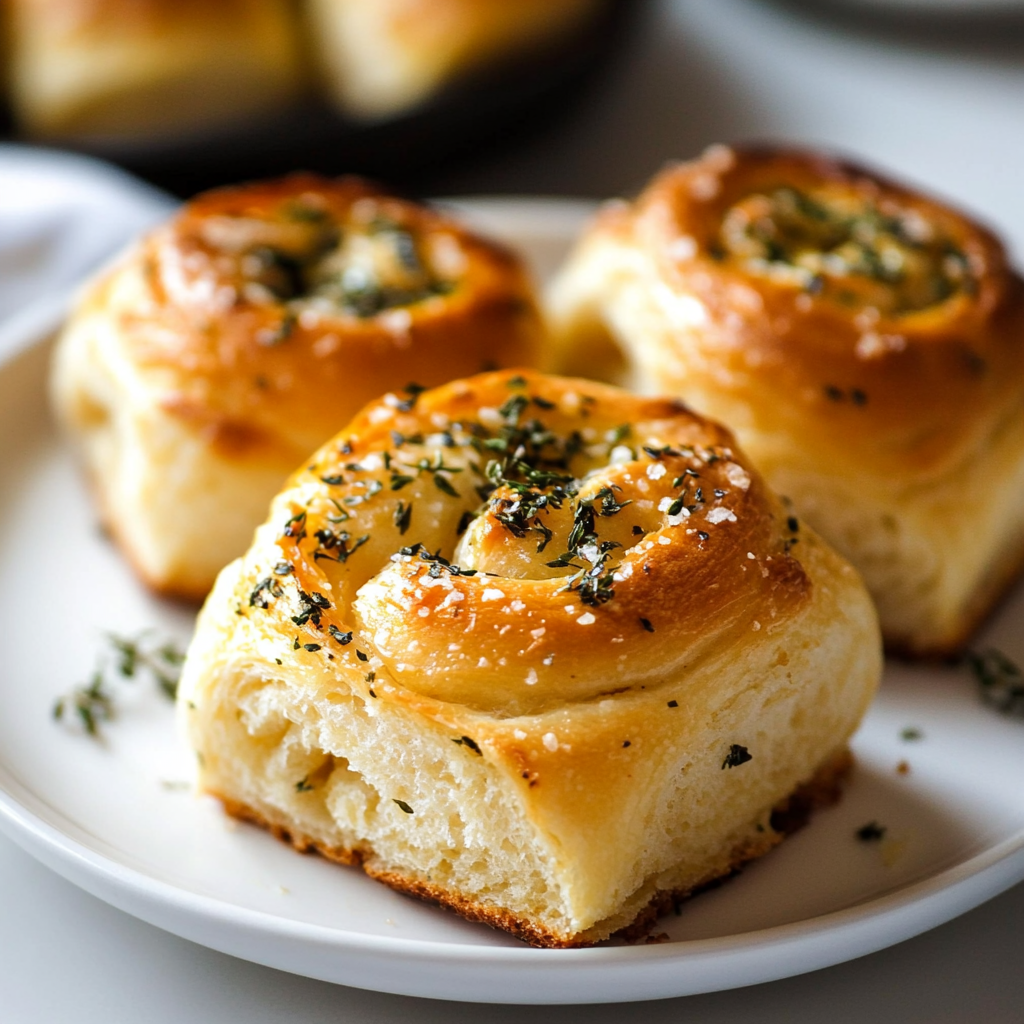
Garlic rolls are like fluffy clouds of joy, bursting with the rich aroma of roasted garlic and the savory goodness of melted butter. Each bite is a warm embrace that transports you to a cozy Italian kitchen, where laughter and the scent of baking bread fill the air. As you pull apart these golden beauties, the buttery glaze glistens like a treasure waiting to be discovered.
I remember the first time I made garlic rolls; my family was gathered around for a game night. The smell wafting through the house had everyone so distracted that we nearly forgot about Monopoly. The anticipation was palpable, and when those rolls finally made their grand entrance, they vanished faster than a magician’s rabbit. Perfect for dinner parties or movie nights, these garlic rolls promise to elevate any occasion.
Why You'll Love This Recipe
- These garlic rolls are simple to prepare, making them perfect for both novice and seasoned bakers
- Their flavor profile offers a delightful blend of savory garlic and buttery goodness that everyone will love
- Visually, they are golden brown and irresistibly fluffy, adding charm to any meal
- Versatile enough to accompany pasta or serve as a snack on their own, these rolls fit any dining scenario beautifully
The first time I baked garlic rolls, my friends couldn’t stop raving about them—they might have even asked for the recipe (I may have graciously obliged).

Essential Ingredients
Here’s what you’ll need to make this delicious dish:
All-Purpose Flour: Use high-quality flour for better texture; it’s essential for achieving that perfect roll.
Active Dry Yeast: Always check the expiration date; fresh yeast makes all the difference in rising.
Warm Water: Aim for 110°F (43°C) to activate your yeast without killing it—think warm bath, not hot tub.
Sugar: Just a touch feeds the yeast; it helps create that lovely golden crust you’ll adore.
Salt: Essential for flavor; don’t skimp here—it wakes up all those other ingredients!
Butter: Use unsalted butter for cooking; it gives an irresistible richness without overpowering flavors.
Garlic: Freshly minced garlic is unbeatable; it brings an aromatic punch that frozen just can’t match.
Parsley (optional): Chopped fresh parsley adds a pop of color and freshness—totally optional but highly recommended.
The full ingredients list, including measurements, is provided in the recipe card directly below.
Let’s Make it together
Activate Your Yeast: In a bowl, combine warm water and sugar; sprinkle yeast on top. Let it sit until bubbly—about 5 minutes—like tiny magic bubbles forming in your drink.
Mix Your Dough: In a large bowl, whisk together flour and salt. Add your bubbly yeast mixture along with melted butter. Stir until combined into a shaggy dough that resembles a very messy hairdo.
Knead Like You Mean It: Transfer dough onto a floured surface and knead for about 8-10 minutes until smooth and elastic—this is your workout for the day!
Let It Rise!: Place your dough in a greased bowl and cover with a damp cloth. Let it rise in a warm place until doubled in size—roughly 1 hour. Expect some serious fluffiness!
Punch It Down!: After the dough has risen, give it a gentle punch (yes, really!) to release air bubbles before dividing it into equal pieces—about 12 should do nicely.
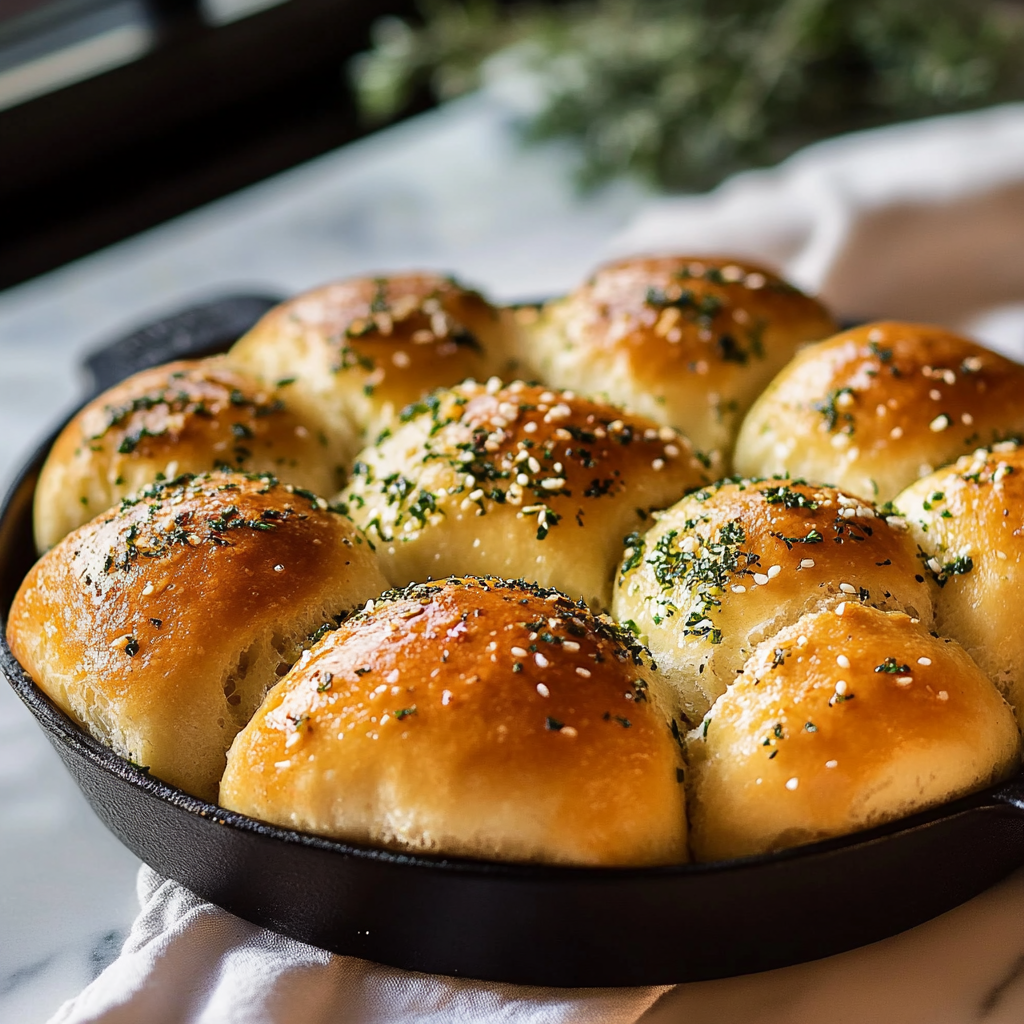
Create Roll Shapes**: Shape each piece into small balls by tucking edges underneath—like little pillows of joy waiting to be baked! Place them on a greased baking sheet close together so they can be best friends while baking.
Bake & Brush**: Preheat oven to 375°F (190°C). Bake rolls for 15-20 minutes or until golden brown. While still warm, brush with melted butter mixed with minced garlic and parsley—your kitchen will smell heavenly!
Enjoy these heavenly garlic rolls fresh from the oven or let them cool slightly before serving. Either way, get ready for compliments galore!
You Must Know
- These garlic rolls bring a delightful aroma and buttery flavor that can elevate any meal
- They are perfect as a side or a snack, and the soft, pillowy texture makes them irresistible
- Baking these from scratch is simpler than you think!
Perfecting the Cooking Process
Start by mixing your dough ingredients while allowing the yeast to bloom. Once you’ve kneaded it, let it rise until doubled in size. Shape the rolls and let them rise again before baking for that perfect fluffy texture.
Add Your Touch
Feel free to swap out traditional garlic for roasted garlic for a sweeter taste. You can also sprinkle in herbs like rosemary or thyme for an extra flavor kick that will have everyone guessing your secret ingredient.
Storing & Reheating
Store leftover garlic rolls in an airtight container at room temperature for up to two days. To reheat, pop them in the oven at 350°F for about 5-7 minutes to refresh their softness.
Chef's Helpful Tips
- Always use fresh garlic for the best flavor; it makes a world of difference in aroma and taste
- Knead the dough until it’s smooth and elastic to ensure a great rise
- If you’re short on time, let the dough rise in a warm place to speed things up
When I first made these garlic rolls, my friends declared them “life-changing.” One bite, and they were all begging for the recipe—no pressure, right? It turned into a fun cooking night with laughter and loads of buttery goodness!
FAQ
Can I use whole wheat flour instead of all-purpose flour?
Yes, but it may change the texture slightly, making them denser.
How long do the garlic rolls stay fresh?
They remain fresh for about two days at room temperature if stored properly.
What can I serve with garlic rolls?
These delicious rolls pair well with pasta dishes or soups—perfect for mopping up sauces!
Garlic Rolls

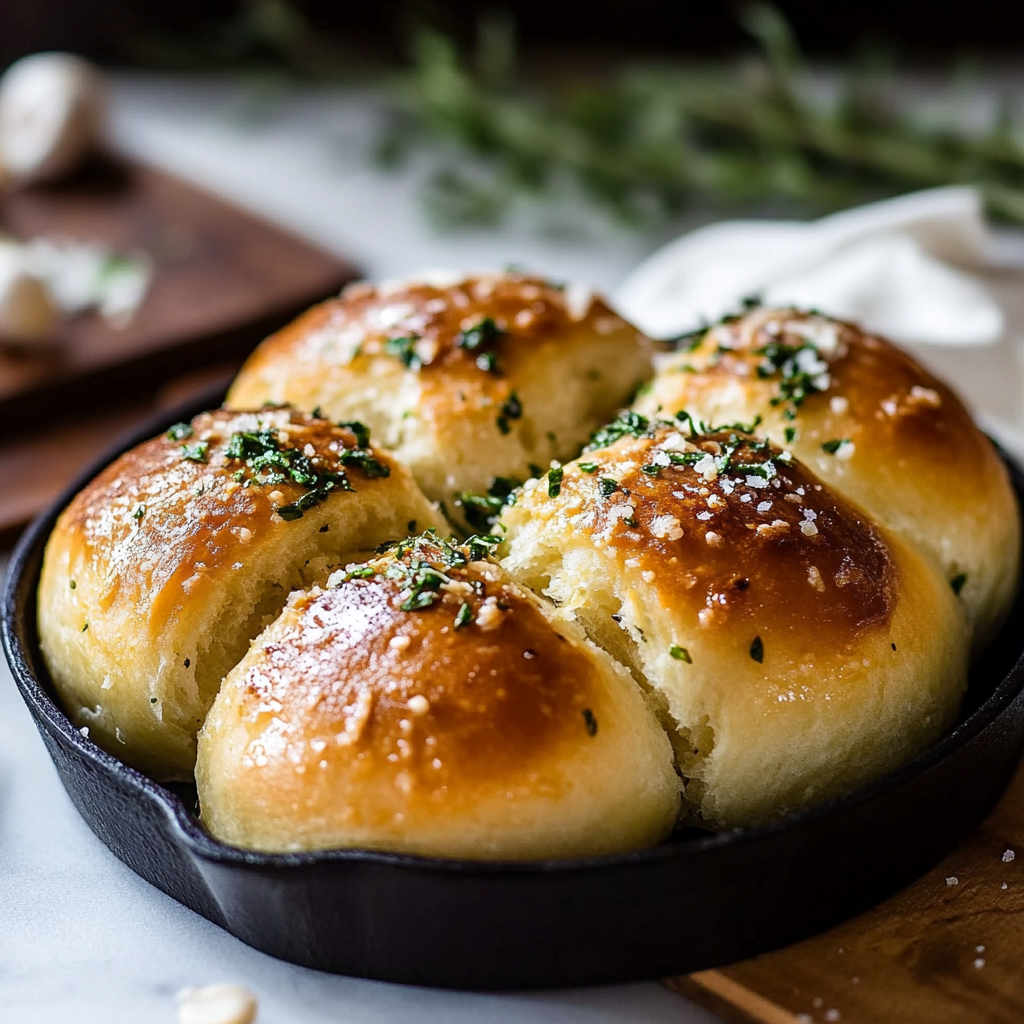
Garlic rolls are the ultimate comfort food, enveloping your senses with their buttery, garlicky aroma. These fluffy delights are easy to make and perfect for any occasion, whether you’re hosting a dinner party or enjoying a cozy night in. With each bite, you’ll experience a warm hug from the bread, accompanied by the rich flavor of roasted garlic. These rolls are sure to become a family favorite, disappearing faster than you can say “delicious.”
- Prep Time: 15 minutes
- Cook Time: 20 minutes
- Total Time: 35 minutes
- Yield: Approximately 12 servings 1x
- Category: Snack
- Method: Baking
- Cuisine: Italian
Ingredients
- 3 1/2 cups all-purpose flour
- 2 1/4 tsp active dry yeast
- 1 cup warm water (110°F)
- 1 tsp sugar
- 2 tsp salt
- 1/2 cup unsalted butter, melted
- 4 cloves garlic, minced
- 2 tbsp chopped fresh parsley (optional)
Instructions
- In a bowl, combine warm water and sugar; sprinkle yeast on top and let sit until bubbly (about 5 minutes).
- In a large bowl, whisk together flour and salt. Add the yeast mixture and melted butter; stir until combined.
- Transfer dough to a floured surface and knead for 8-10 minutes until smooth.
- Place dough in a greased bowl, cover with a damp cloth, and let rise in a warm place until doubled in size (about 1 hour).
- Punch down the dough gently and divide into about 12 pieces; shape into balls.
- Place on a greased baking sheet close together and let rise again until puffy (about 30 minutes).
- Preheat oven to 375°F (190°C). Bake for 15-20 minutes until golden brown.
- Brush warm rolls with melted butter mixed with minced garlic and parsley before serving.
Nutrition
- Serving Size: 1 roll (50g)
- Calories: 150
- Sugar: 1g
- Sodium: 250mg
- Fat: 6g
- Saturated Fat: 4g
- Unsaturated Fat: 2g
- Trans Fat: 0g
- Carbohydrates: 20g
- Fiber: <1g
- Protein: 3g
- Cholesterol: 15mg