
There’s something magical about the crunch of fresh green beans. When you can them, those vibrant green pods transform into jars of sunshine that brighten any winter meal. Each jar is a little time capsule, preserving summer’s bounty and infusing your kitchen with the aroma of home-cooked goodness.
Canning green beans isn’t just an art; it’s a rite of passage for many home cooks. Whether you’re a seasoned pro or a newbie, there’s a certain satisfaction in popping open a jar and tasting that sweet, crunchy freshness long after the harvest season has passed.
Why You'll Love This Recipe
- Canning green beans is surprisingly easy and requires minimal ingredients
- You get to enjoy fresh garden flavors all year round
- The bright colors in the jars make for stunning decor or gifts
- This method allows you to preserve your favorite beans without additives or preservatives
I remember the first time I canned green beans; my family gathered around the kitchen counter, armed with jars, lids, and an abundance of laughter. We ended up with more giggles than actual beans, but hey, that’s what makes memories special.
Essential Ingredients
Here’s what you’ll need to make this delicious dish:
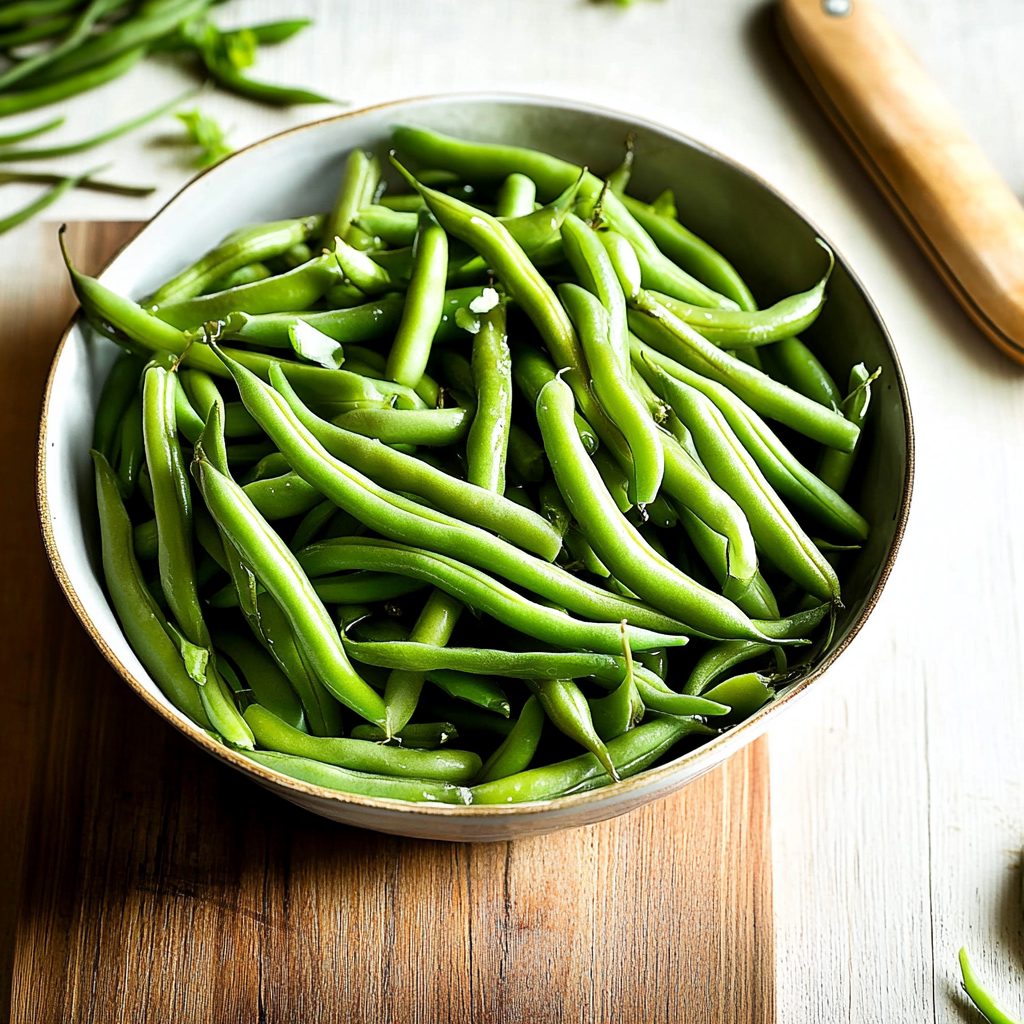
Fresh Green Beans: Choose crisp, vibrant green beans for the best texture and flavor.
Canning Jars: Use sterilized jars with new lids to ensure proper sealing.
Water: Clean, filtered water is crucial for maintaining flavor during the canning process.
Salt: Use canning salt for best results; it helps preserve color and texture.
Vinegar (optional): A splash can enhance flavor and help with preservation if desired.
The full ingredients list, including measurements, is provided in the recipe card directly below.
Let’s Make it Together
Prep Your Equipment: Start by gathering your canning supplies. Ensure your jars are clean and sterilized by boiling them in water for 10 minutes.
Select and Prepare Your Beans: Rinse your fresh green beans under cold water, trimming off both ends until they’re nice and tidy. Aim for uniform lengths to fit snugly into your jars.
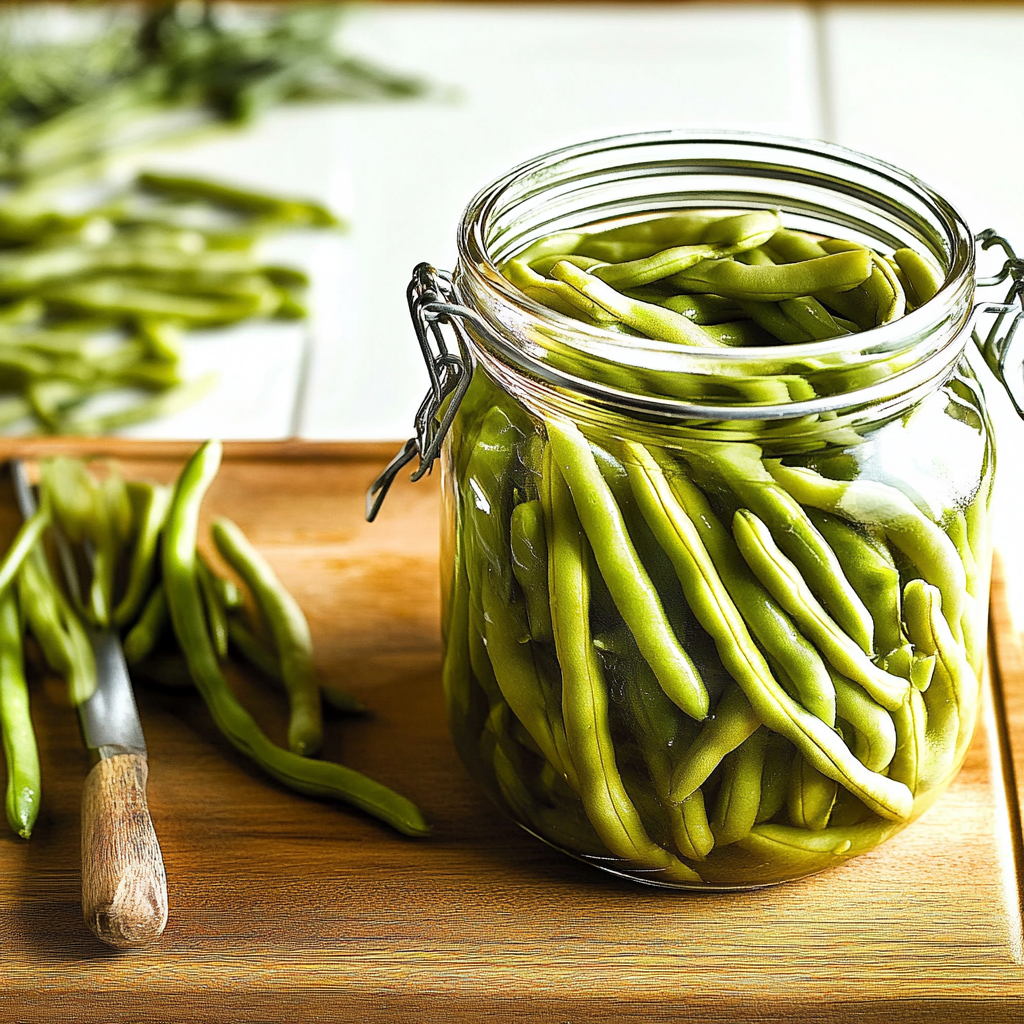
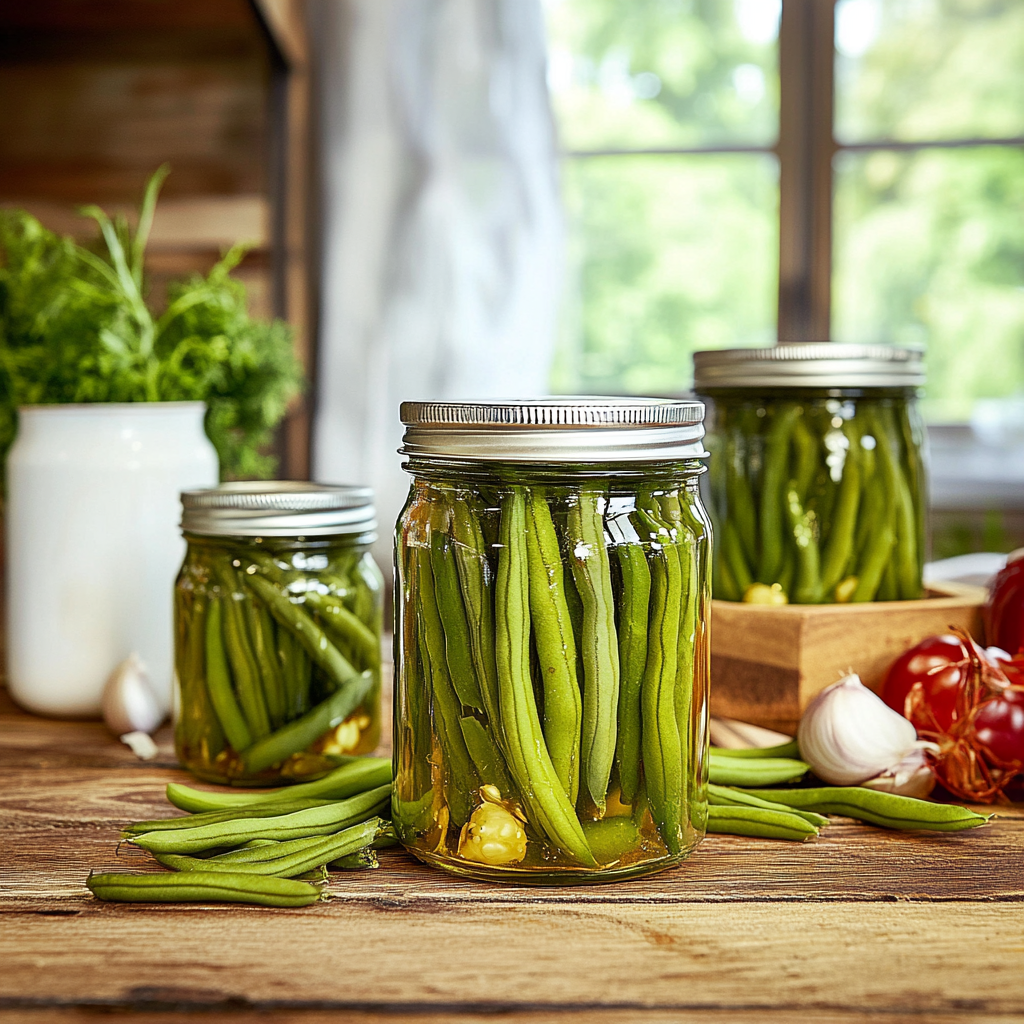
Pack Those Jars: Fill each sterilized jar with green beans packed tightly but not smashed. Leave about an inch of headspace at the top to allow for expansion during processing.
Add Salt and Water: Sprinkle about a teaspoon of canning salt into each jar, then carefully pour boiling water over the beans until they are fully submerged within that glorious liquid.
Seal It Up!: Wipe the rim of each jar to remove any residue before placing on sterilized lids. Screw on metal bands until fingertip-tight but don’t go overboard!
Process Your Jars: Place filled jars into a pressure canner filled with hot water; follow manufacturer guidelines for processing times—usually around 20-30 minutes depending on altitude.
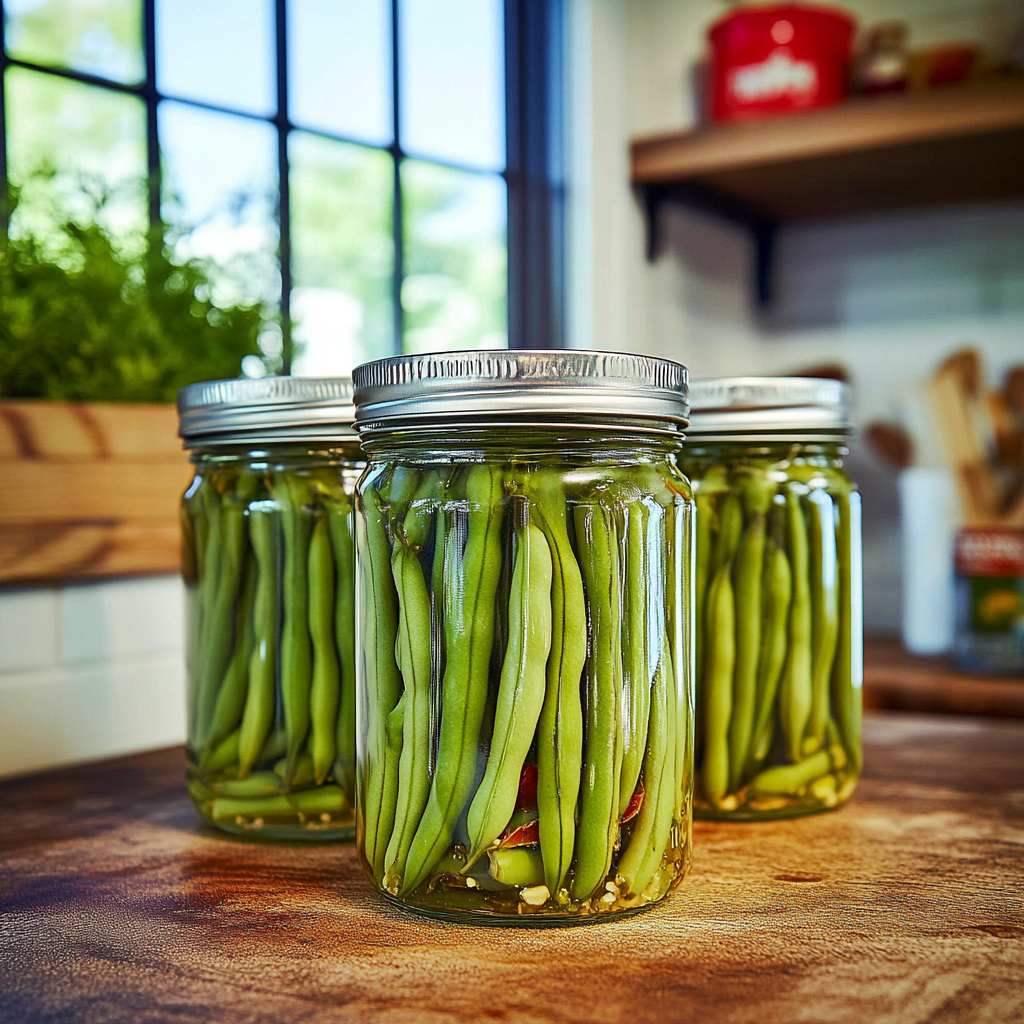
Once processed, let your jars cool completely on a towel-lined countertop. You’ll hear pops as they seal perfectly—a sound that’s music to any home cook’s ears!
And there you have it! Canning green beans brings joy not only when you prepare them but every time you crack open a jar of summer goodness throughout the year! Enjoy this culinary adventure as you savor each delicious bite!
You Must Know
- Canning green beans preserves their vibrant color and crunch, making them a delightful addition to meals year-round
- Properly canned beans can last for years, ensuring you have a taste of summer even in the dead of winter
- Plus, the process is satisfying!
Perfecting the Cooking Process
To ensure perfect results when canning green beans, start by washing and trimming your beans first. Then blanch them before packing into jars and processing for safe preservation.
Add Your Touch
Feel free to add garlic, herbs, or spices to your jars for extra flavor. Experiment with combinations like dill or red pepper flakes to personalize your canned green beans.
Storing & Reheating
Store canned green beans in a cool, dark place. Once opened, refrigerate leftovers in an airtight container and consume within three days for best quality.
Chef's Helpful Tips
- Always use fresh green beans for the best flavor and texture when canning
- Remember to adjust processing time based on your altitude for safety
- Keep your jars hot before filling to prevent breakage during sealing
I vividly remember my first canning experience—my kitchen looked like a scene from a food fight! Friends were skeptical but ended up raving about the flavorful green beans at our next potluck.
FAQ
Can I use frozen green beans for canning?
You should always use fresh green beans for optimal flavor and texture during canning.
How long do canned green beans last?
Properly canned green beans can last up to five years if stored correctly.
What should I do if my jars don’t seal?
Reprocess the jars immediately or store them in the refrigerator for quick use if they fail to seal.
Canned Green Beans

Canning green beans is a delightful way to preserve the vibrant flavors of summer and enjoy them year-round. This easy, satisfying process transforms fresh green beans into jars of crunchy goodness, perfect for adding to meals or gifting. With minimal ingredients and straightforward steps, you’ll relish the taste of home-cooked joy every time you open a jar.
- Prep Time: 20 minutes
- Cook Time: 30 minutes
- Total Time: 50 minutes
- Yield: Approximately four servings (1 cup per serving) 1x
- Category: Preserving
- Method: Canning
- Cuisine: American
Ingredients
- 2 pounds fresh green beans, trimmed
- 4 sterilized canning jars with new lids
- 4 cups clean, filtered water
- 2 teaspoons canning salt (adjust to taste)
- 1 cup vinegar (optional for added flavor)
Instructions
- Prepare your equipment by sterilizing jars in boiling water for 10 minutes.
- Rinse and trim the fresh green beans, ensuring uniform lengths.
- Pack each jar tightly with green beans, leaving about an inch of headspace.
- Add ½ teaspoon of canning salt to each jar and pour boiling water over the beans until fully submerged.
- Wipe jar rims clean and seal with sterilized lids, tightening metal bands fingertip-tight.
- Process in a pressure canner according to manufacturer guidelines (about 20-30 minutes).
- Allow jars to cool on a towel-lined countertop; listen for the satisfying pop as they seal.
Nutrition
- Serving Size: 1 cup (240g)
- Calories: 44
- Sugar: 2g
- Sodium: 880mg
- Fat: 0g
- Saturated Fat: 0g
- Unsaturated Fat: 0g
- Trans Fat: 0g
- Carbohydrates: 10g
- Fiber: 4g
- Protein: 2g
- Cholesterol: 0mg