
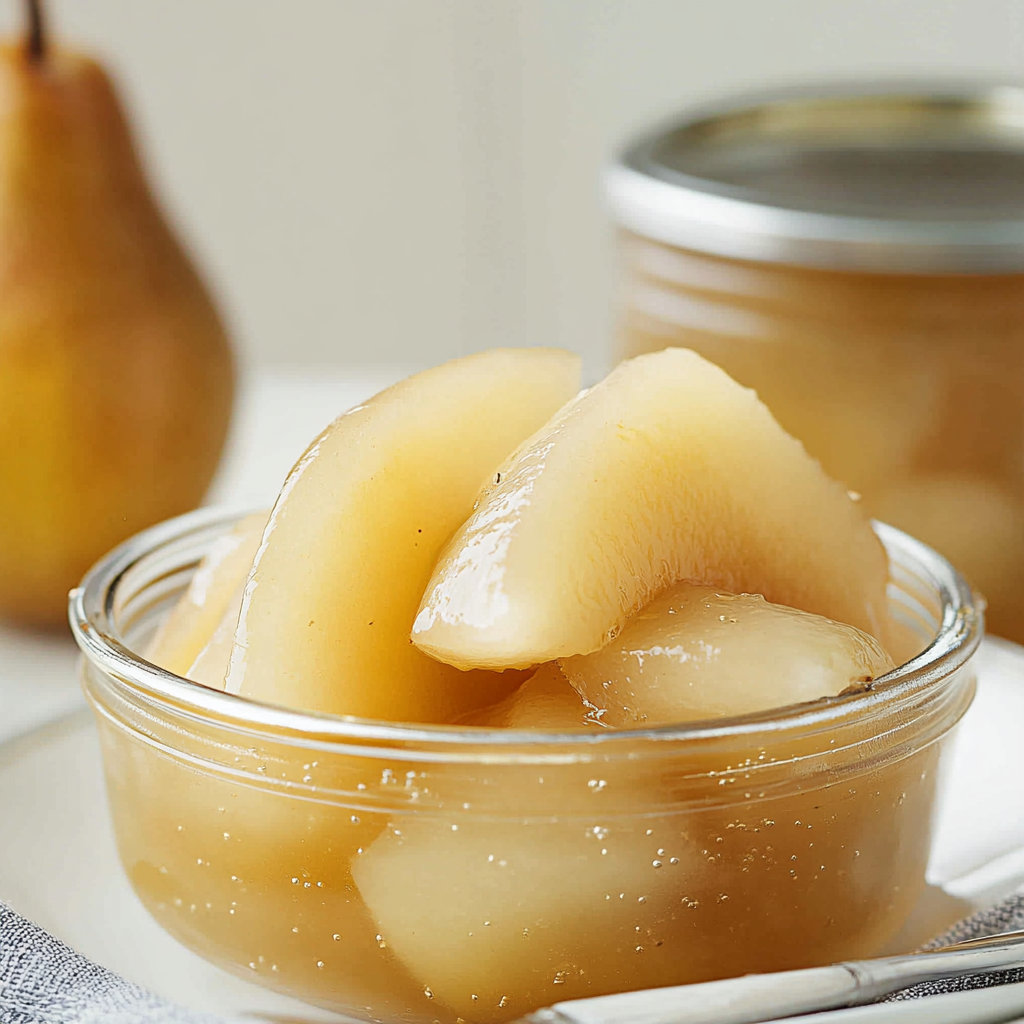
There’s something magical about the sweet, juicy delight of canning pears. The aroma wafts through your kitchen, making you feel like a culinary wizard conjuring up a delicious potion. Picture this: glistening jars filled with tender, syrupy pears that burst with flavor at every bite. It’s not just food; it’s nostalgia bottled up for rainy days and cozy evenings.

As we embark on this canning journey together, let’s reminisce about those cherished moments in my grandmother’s kitchen. She was the queen of canning, turning our summer fruit bounty into vibrant treasures for winter months. Trust me; once you master canning pears, you’ll be the star of family gatherings and potlucks, sharing joy one jar at a time.
Why You'll Love This Recipe
- Canning pears is surprisingly easy and requires minimal ingredients
- The end result is a stunning display perfect for any occasion
- These jars add a pop of color to your pantry while providing versatile treats for desserts or snacks
- Plus, they make great gifts that showcase your culinary skills!
One time, I brought a jar of my canned pears to a friend’s barbecue, and it disappeared faster than a magician’s rabbit! Everyone loved them so much they insisted I start an “official” pear canning business.
Essential Ingredients
Here’s what you’ll need to make this delicious dish:
Fresh Pears: Use ripe but firm pears for the best texture; varieties like Bartlett or Bosc work wonderfully.
Sugar: Granulated sugar helps create that luscious syrup; adjust according to your sweetness preference.
Water: Essential for creating the syrup; using filtered water enhances the taste.
Lemon Juice: Fresh lemon juice prevents browning and adds a tangy flavor contrast to the sweetness.
Cinnamon Sticks (optional): A touch of cinnamon elevates the flavor profile and adds warmth.
The full ingredients list, including measurements, is provided in the recipe card directly below.
Let’s Make it Together
First things first: Prepare your workspace by gathering all your ingredients and tools. You’ll need clean jars, lids, and a large pot for boiling water.
Wash Your Pears: Rinse the pears under cold water to remove any dirt or residue. Gently scrub them if needed; we want them sparkling clean!
Peel and Slice Pears: Using a peeler, carefully remove the skins from the pears, then slice them in half and core them. Aim for uniform slices so they cook evenly.
Prepare Syrup Mixture: In a large saucepan over medium heat, combine sugar and water in equal parts until dissolved. For a twist, add lemon juice and optional cinnamon sticks.
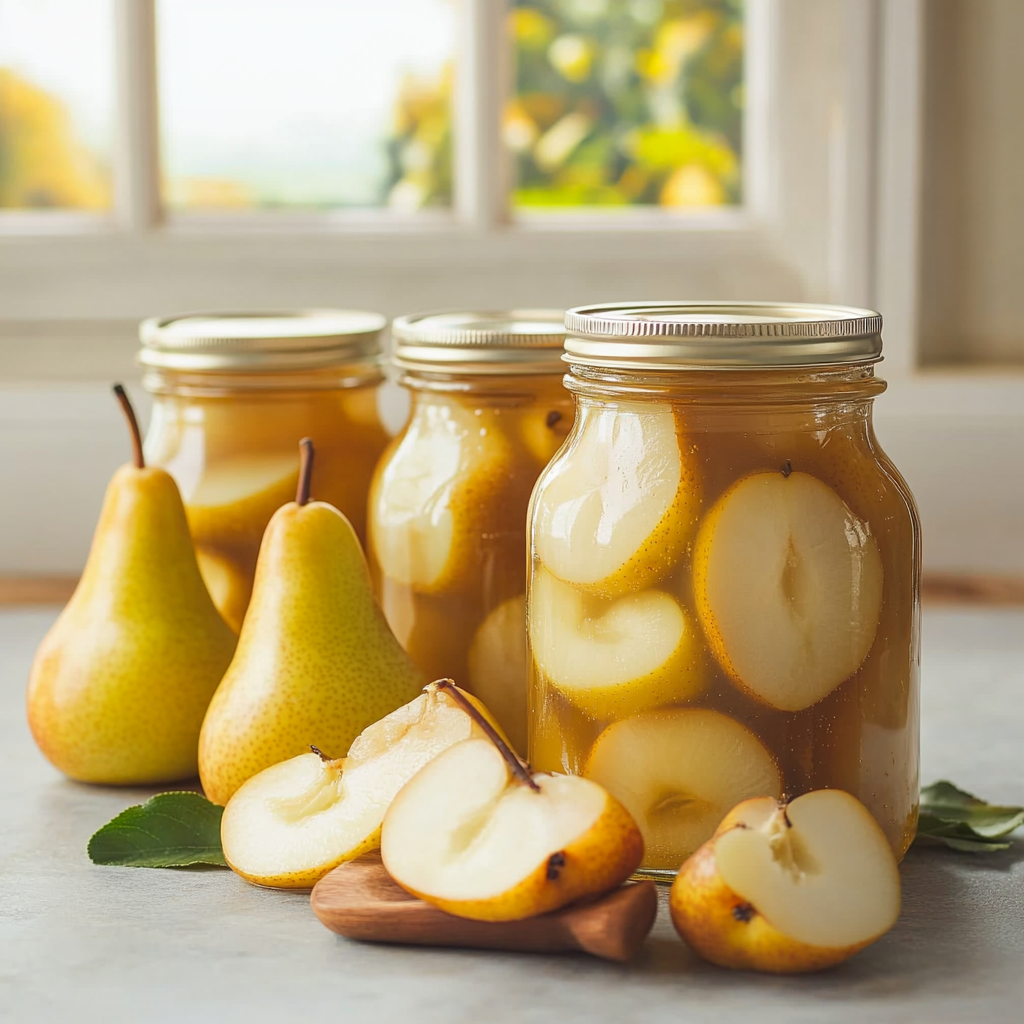
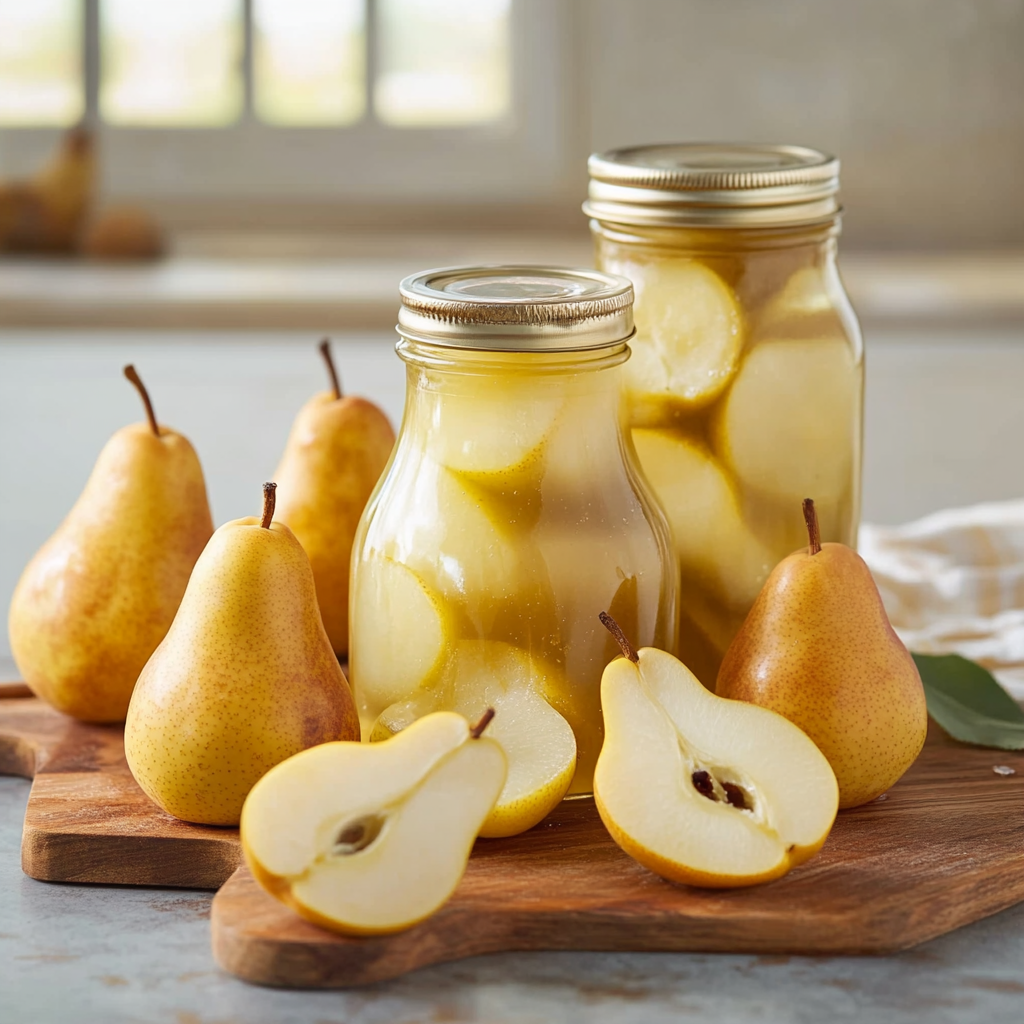
Pack Jars with Pears: Layer the sliced pears into sterilized jars tightly but without squishing them. Pour hot syrup over the pears until they are fully submerged.
Seal Jars Properly: Wipe the rims of each jar with a clean cloth to ensure they seal properly. Place lids on top and screw on rings until fingertip tight.
Process Jars in Water Bath: Submerge jars in boiling water for about 20 minutes to ensure safety and longevity. Let them cool completely before storing.
Now sit back and admire your beautiful creations! Just imagine how proud you’ll feel when you crack open one of these jars during winter gatherings. The taste will transport you right back to sunny summer days!
You Must Know
- Canning pears is a delightful way to preserve their juicy sweetness
- The aroma that fills your kitchen during the process is simply irresistible
- Plus, canned pears make a perfect addition to desserts, salads, or even as a snack straight from the jar!
Perfecting the Cooking Process
Start by preparing the jars and lids while you peel and slice the pears; this saves time and ensures everything’s ready for canning.
Add Your Touch
Consider adding spices like cinnamon or vanilla for extra flavor in your canned pears. You can also experiment with different sweeteners based on your preference.
Storing & Reheating
Store canned pears in a cool, dark place for optimal preservation. Once opened, refrigerate any leftovers and enjoy them within a week.
Chef's Helpful Tips
- Canning pears requires ripe yet firm fruit for the best texture
- Make sure to use sterilized jars to prevent spoilage
- Lastly, don’t skip the water bath; it seals in freshness and flavor perfectly!
I remember making my first batch of canned pears with my grandmother. Her secret ingredient was love, and her laughter filled the kitchen as we worked together.
FAQ
What type of pears are best for canning pears?
Bartlett or Anjou pears are ideal due to their sweetness and texture when canned.
How long do canned pears last?
Properly sealed and stored, canned pears can last up to one year in a cool place.
Can I can pears without sugar?
Yes, you can use alternative sweeteners or omit sugar entirely for a healthier option.
Canned Pears
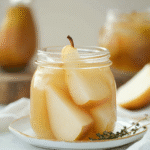
Experience the joy of canning pears, transforming fresh, ripe pears into luscious jars of sweet goodness. This simple recipe captures the essence of summer fruit, allowing you to savor tender, syrupy pears year-round. Perfect for desserts, snacks, or as thoughtful gifts, canned pears are a delightful addition to any pantry.
- Prep Time: 20 minutes
- Cook Time: 25 minutes
- Total Time: 45 minutes
- Yield: Approximately 4 servings 1x
- Category: Dessert
- Method: Canning
- Cuisine: Preservation
Ingredients
- 4 cups fresh pears (about 6–8 medium pears)
- 1 cup granulated sugar
- 4 cups water
- 2 tablespoons fresh lemon juice
- 2 cinnamon sticks (optional)
Instructions
- Prepare your workspace by gathering clean jars and lids.
- Wash the pears under cold water and scrub as necessary. Peel, halve, and core them for even cooking.
- In a large saucepan over medium heat, combine 1 cup of sugar and 4 cups of water until dissolved. Add lemon juice and optional cinnamon sticks for flavor.
- Pack sliced pears into sterilized jars tightly but without squishing them. Pour hot syrup over the pears until fully submerged.
- Wipe jar rims with a clean cloth, place lids on top, and screw on rings until fingertip tight.
- Process jars in boiling water for 20 minutes to ensure safety. Allow to cool completely before storing.
Nutrition
- Serving Size: 1/2 cup (125g)
- Calories: 140
- Sugar: 30g
- Sodium: 5mg
- Fat: 0g
- Saturated Fat: 0g
- Unsaturated Fat: 0g
- Trans Fat: 0g
- Carbohydrates: 36g
- Fiber: 2g
- Protein: <1g
- Cholesterol: 0mg